Grain farming is an intricate line of work that involves more than planting and waiting for the harvest. Grain farming is a year-round task with important jobs to complete during each season. Many people think the farming process comes to a halt in the winter, but many farmers spend this time planning and preparing for next year’s season.
Whether you want to start farming grain crops or streamline your farming activities throughout the year, understanding the process can help you achieve successful harvest, storage and planning procedures.
The Process of Grain Farming
The process for commercial grain farming and private farming alike starts and ends with crop planning. When you set actionable goals for yourself to achieve weekly, you can have a higher chance of a successful harvest. First, you should decide what type of grain you want to grow:
1. Choose the Types of Grains You’ll Grow
Knowing what types of grains you’ll be planting and harvesting in a given season helps determine the next steps you take. It could even affect the types of crops you can successfully grow the following season. The most common types of grains, also known as cereals, fall into two categories: true cereal grains and pseudocereal grains.
You can identify true cereal grains by their grassy appearance. They’re often the crops people imagine when considering a farmer’s expansive field of grain. They include the following:
- Wheat
- Oats
- Rice
- Corn
- Barley
- Sorghum
- Rye
- Millet
Pseudocereal grains do not have the grass-like appearance of true cereal grains, but they do have similar nutritional values. Consumers use them in many of the same ways as true cereals. Pseudoceral grains include the following:
- Amaranth
- Buckwheat
- Quinoa
2. Choose and Plant Your Seeds
Using the United States Department of Agriculture (USDA) Plant Hardiness Zone Map, choose the type of grain you wish to grow based on what will thrive in your location. Seek to acquire your seeds from a reputable supplier who has tested the seeds for diseases, weeds and germination. Different grains have some slightly different preparation processes, but here are some of the basic next steps you should take once you have your seeds:
- Choose the right spot for planting: Sunny areas with good soil are best. You should also make sure the previous crop planted in that area won’t negatively impact your current crop.
- Test and till the soil: If you’re not sure about the quality of your soil, you can have it professionally tested. If it’s good to go, you can till the soil, adding a layer of compost if you choose.
- Spread and rake the seeds: Make sure to spread the seeds evenly. Using a seed spreader might make this step easier. Then, rake the area to cover seeds with soil.
- Add a layer of straw and water the area: A layer of straw can protect the seeds from movement and wildlife. Make sure you use the right amount of water to keep the seeds moist while not oversaturating.
3. Harvest Your Crops
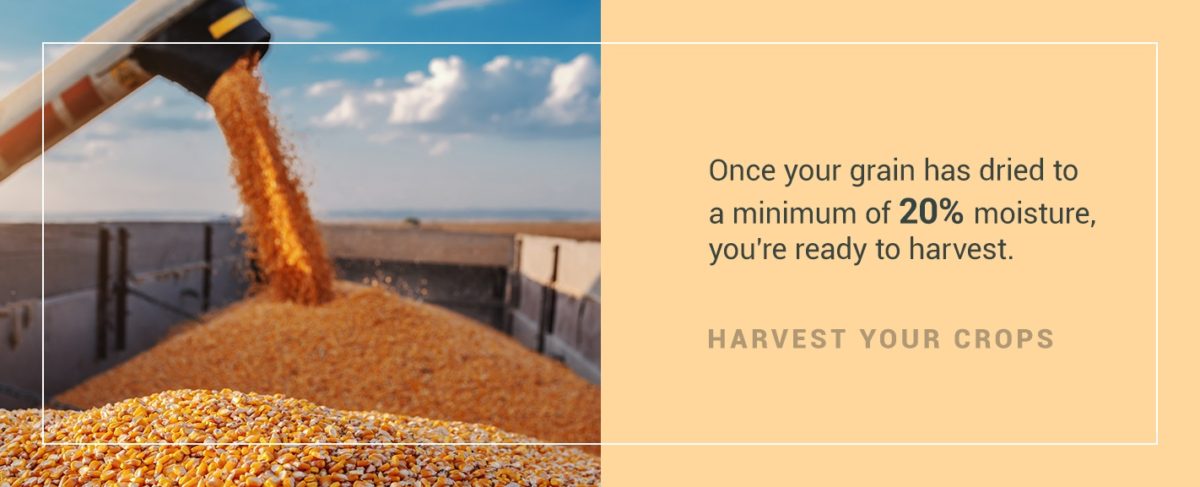
Once your grain has dried to a minimum of 20% moisture, you’re ready to harvest. If you’re looking for visual hints that it’s grain harvest season, keep an eye out for the following signs:
- The grain has turned from green to brown.
- The grain has changed from soft to hard to the touch.
- The grain heads have become dry and heavy, causing the grain to begin bending forward.
Here are the steps you’ll take to harvest your grain:
- Harvest the grain from the field: Use a sickle, scythe or pruners to harvest your grain. Larger farms may choose to use larger machinery to speed up this process.
- Thresh the grain: This is the act of removing the grain from its casing, or chaff, by rubbing it by hand or using a machine called a thresher. You could also flail the grain with a wooden bar or tread it with your feet to thresh the grain.
- Winnow the grain: This is the act of separating the edible grain from the inedible chaff.
4. Store Your Grain
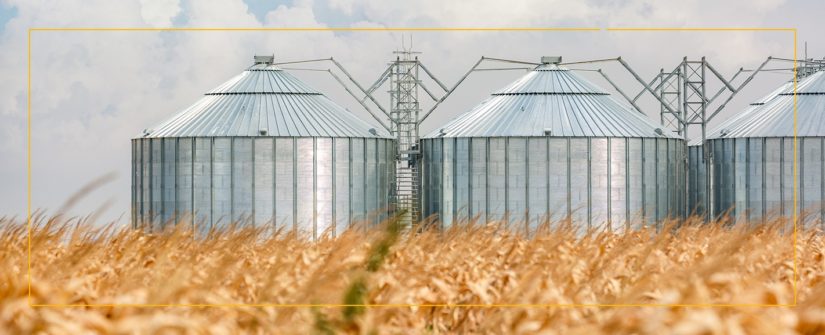
The next step in the grain farming process is to store it. You should store your grain properly, or you could risk ruining your yield due to insects or mold. The most common way to store your grain is by using the right grain bins. These containers make storing your grain easier and safer, keeping it all in one place and secure from the elements or wildlife. Simply choose the right size for your needs and trust a reputable team to install the container.
Grain should reach approximately a 15% moisture level to store properly. Choose either a horizontal grain dryer or a tower grain dryer to ensure grain has reached its proper moisture level. Only then can you store your grain. Make sure you check the grain often to keep an eye out for any moisture buildup, mold or insects, as these can ruin your harvest. Maintaining proper airflow and cool storage temperatures can help ensure successful storage.
5. Plan for Next Year’s Season
Every successful harvest begins and ends with planning and goal setting. Once your grain is in storage, there is plenty to plan for regarding the upcoming season. You’ll also have time to reflect on your goals. Did you reach them? How will you adjust your goals for the following year?
Some farmers recommend using spreadsheets to keep track of the locations and quantities of the crops they planted in one season to determine which crops to plant the following year. Having a visualization of your field and the crops within can help you reach your goals for the season. You can then use that spreadsheet to make sure your plan for the new season provides the proper crop variation.
Alternating root systems and picking crops that won’t hinder next year’s crops are both important practices for ensuring a healthy yield. You’ll want to vary where you plant your crops so the soil can keep its nutrients and maintain a proper underground structure. Following these techniques can ensure your soil is still rich in nutrients and ready for a new season when you test it in the spring.
Choose TAM Systems to Help Your Grain Farming Process
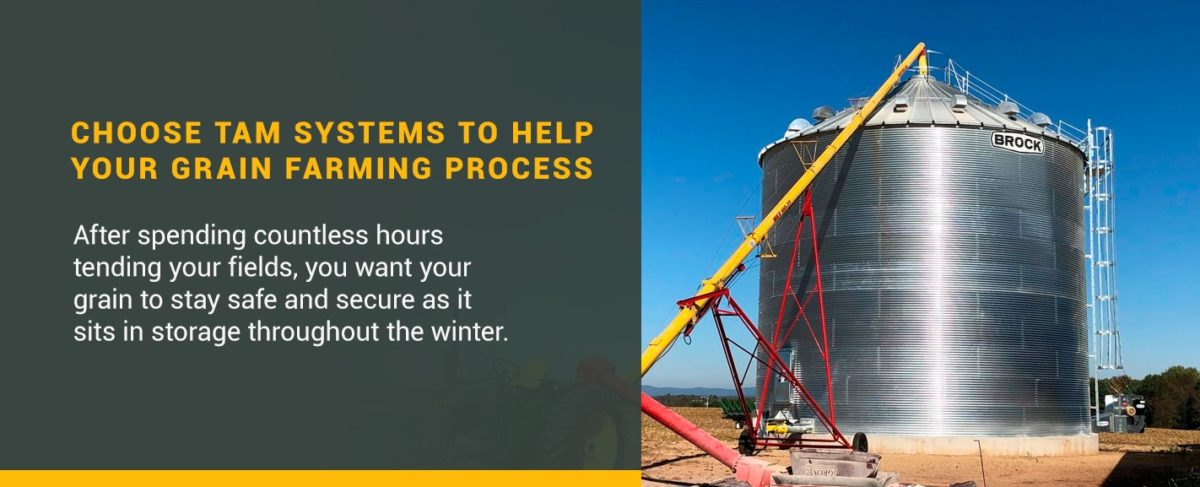
After spending countless hours tending your fields, you want your grain to stay safe and secure as it sits in storage throughout the winter. TAM Systems is equipped to partner with you to accomplish this goal. Our high-quality storage bins installed by our expert team — many of whom are farmers themselves — can help keep your grain safe and fresh until it’s time to be sold on the market. We stand behind our work and offer continuing services for every project we’re involved with.
No project is too small to deserve time and attention, which is why we help with small farm projects all the way up to large-scale commercial endeavors. Contact us today to get a free quote on materials that can help you accomplish your grain farming goals.


