
Considering the financial benefits of being able to choose when to sell your grain and preserve any excess harvest, it’s hard to overestimate the importance of grain storage. As the structures housing the extra grain, storage bins for grain play a key role within the grain storage process by protecting stored grain and preventing spoilage. Even the best grain bins on the market need to be cleaned from time to time, so it’s important you know the right techniques for sanitizing your grain bins and keeping them well-maintained and insect-free throughout the year.
Although a clean grain bin is the foundation of good grain storage, there’s a bit more to the process than that. To help you keep your grain in peak condition from harvest through winter, here are our top seven tips for grain storage:
1. Inspect and Clean Your Grain Bin
Before harvest begins, thoroughly inspect and clean out your grain bin to get it ready for a new round of grain. You never want to put new grain on top of any old grain, which could put the new grain at risk of infestation from storage insects as well as mold organisms. To begin the inspection and cleaning of your grain bin, start from the top down, checking the roof for leaks, rust, loose bolts or any other issues. The roof can cause the most damage to your grain, but with a little bit of caulk, a wire brush, some paint and new bolts, your grain bin can be as good as new in no time.
After addressing the roof, you can move on to sanitizing the bin and its surrounding area. Because insects usually find refuge in the old grain dust and broken kernels, you’ll need to screen out as much of these fine materials as possible to protect the condition of your new grain. You can use equipment as simple as a broom and vacuum cleaner to get rid of cracked or broken grain, spilled grain flour and the insects feeding on this residue. As you clean inside your grain bin, you can simultaneously look for and repair damages, such as cracks and holes that need to be sealed.
Along with the inside of your grain bin, clean up the surrounding area and your other equipment as well. Because insects can reside in harvesting and handling equipment and infest the new grain, make sure to remove all traces of old grain from your equipment and scrub it down before harvest. If you know your grain storage bin or the area around it is prone to infestation, consider applying a preventative pesticide after you’ve finished cleaning.
2. Clean Grain
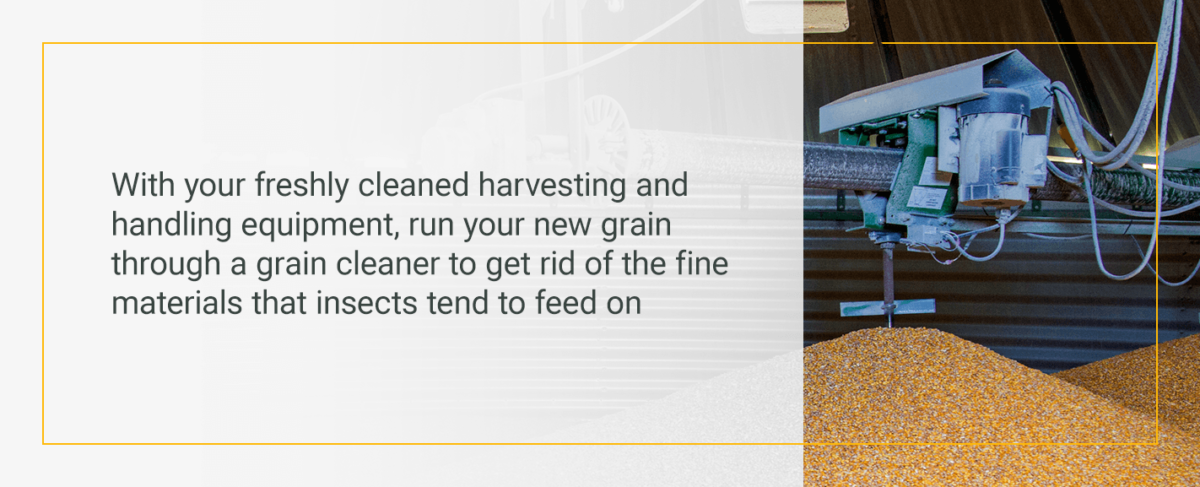
With your freshly cleaned harvesting and handling equipment, run your new grain through a grain cleaner to get rid of the fine materials that insects tend to feed on. If you don’t mind additional weight loss, you can run grain with many broken kernels through the cleaner as well. Having clean, whole grain will help you manage insects and prevent infestations.
Along with insect management, cleaning your grain helps with proper aeration of the grain during drying and storage. Without fine material to pass through, the air drawn into the grain from outside the storage bin can move through the mass more uniformly. To avoid fine material concentrating in a dense column at the center of your grain mass, which will result in moisture buildup and grain quality deterioration, use a grain distributor to evenly spread fine material across the grain mass.
3. Dry Grain
After you’ve cleaned your grain and removed contaminants, it will be prepared for drying. Because high-moisture grains have a higher risk of bacterial or mold growth when stored for too long, try to get grain ready to be dried within 24 hours after harvesting. Once the grain is ready for drying, figure out what moisture level it should be kept according to how long the grain can be stored. Storage guidelines from the International Rice Research Institute (IRRI) suggest a lower moisture content the longer grains need to be stored.
You want your grain to be completely and uniformly dried, so give your grain ample time to dry, especially if you’re using a patio or sun drying method. Stir the grain regularly throughout this time to prevent spots or unevenness. There are also many mechanical dryer options available as more modern methods of grain storage and drying emerge — make sure you explore the latest in grain handling and storage technology to stay current on the most efficient approaches.
4. Aerate Grain
Proper aeration balances the difference between the storage and outside temperatures to minimize moisture migration and maintain a low grain storage temperature, which prevents mold and reduces insect activity. The hot air that rises from the middle of the bin cools when it reaches the surface, resulting in moisture condensation and rapid spoilage. But keeping grain storage temperatures consistent can prevent the crusting that comes with condensation and decrease deterioration rates while ensuring higher grain quality.
To precisely monitor the aeration of your grain, you will need these instruments:
- Thermometer: Measuring ambient and bin exhaust temperatures with a thermometer will let you know whether you need to make any adjustments to your storage bin’s interior temperature.
- Thermometer probe: For smaller bins, a thermometer probe is useful but larger bins will require temperature cables.
- Moisture tester: Make sure your moisture tester gets checked and calibrated with another known moisture tester before using it.
- Deep-bin probe: A deep-bin probe will allow you to take moisture samples from your grain storage bins.
5. Control the Temperature
Controlling the grain’s temperature is key to preventing it from growing mold or going bad. In general, you will want to keep your grain’s temperature at less than 50 degrees Fahrenheit throughout the entire year. At this temperature, insect activity will be significantly reduced. If you can get your grain’s temperature to 30 degrees Fahrenheit during the winter, all mold and insect activity will cease and some pests may be eliminated completely.
Gradually cooling your grain during the autumn months will allow you to maintain these threshold temperatures. To keep your grain at a low temperature as long as possible while it’s in storage, be careful to cool and dry the grain mass uniformly to move the cooling from completely through and out of it. Once spring and summer arrive, you won’t need to use fans to rewarm the dry grain.
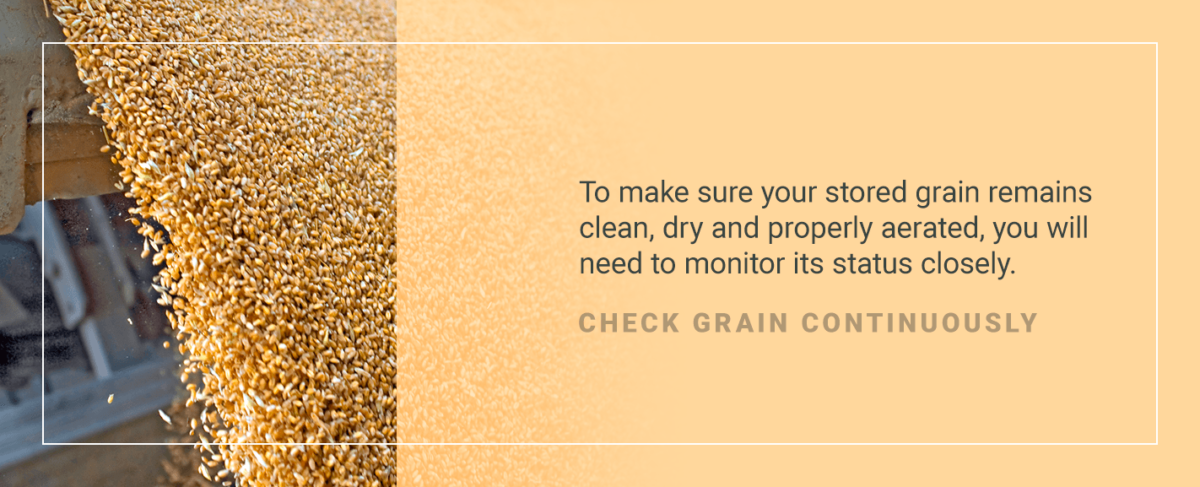
6. Check Grain Continuously
To make sure your stored grain remains clean, dry and properly aerated, you will need to monitor its status closely. If either the grain or outdoor temperature is more than 50 degrees Fahrenheit, you should inspect your grain every seven to 14 days. If your grain has been cooled to below 30 degrees Fahrenheit and you’re confident it is in good condition, you can scale back your inspection rate to once every three to four weeks during the cold winter weather.
When you check on your grain, search for any signs of insect activity by screening the grain, looking for webs, examining kernels for damage and sniffing around for unusual odors. Make sure you check the grain’s temperature too, as insect infestations can raise the temperature of grain to 110 degrees Fahrenheit. If you’re checking during the summer or fall, look for insect infestation near the surface of the grain. If it’s wintertime, check the center and lower portions of your grain because that’s where insects tend to congregate during the colder months.
7. Control Insect Activity
Keeping your bins clean, cool and sterilized will help keep insects from infesting the grain. Most often, storage insects get started in the grain dust, broken kernels and fine materials, which are typically concentrated near the center of the bin under the loading auger. Closely monitoring this area and cleaning it out when necessary will greatly help reduce insect activity inside your grain bins.
Make sure you regularly check the state of your grain bins so you can take corrective measures as soon as possible instead of reacting to major issues too late. If you plan on storing your grain into the late summer, consider proactively putting down some insect traps to see if any insects are already present and whether the grain needs to be treated. For frequent insect issues, apply a grain protectant with a residual insecticide spray to guard your grain against infestation.

Contact TAM Systems for Your Grain Bin Needs
Proper grain storage begins with a high-quality grain storage bin. TAM Systems offers a wide variety of durable, vented steel grain models engineered to give you greater control over your product and protect the value of your grain. At TAM, we also provide custom designs so you can get the perfect storage bin for you — no project is too small or large!
Contact TAM today for your free quote and find out how you can improve the quality of your stored grain.
